How to Install a Solar Power System for Homes
Since the beginning of time, sunlight has always been available. Over the years, many people have complained about the ever-increasing electricity costs, and solar power systems have become an excellent alternative. Sunshine is readily available, especially in countries with abundant sunlight. With annual improvements in modern technology, solar power for homes has advanced significantly.
With just a little sunlight, you can generate sufficient electricity. Even with a few photovoltaic panels, you can create the necessary power for your home. Even if you live in a small house, installing a solar panel system is still feasible. New solar power systems are more efficient and can generate quality electricity with less sunlight. Even if your house doesn’t have the ideal orientation, you can still generate solar power effectively.
Steps to Install a Solar Power System for Your Home
1. Calculate Your Home’s Electricity Needs
Before installing solar panels, you need to assess your home’s electricity requirements. To calculate your monthly electrical consumption, check your electricity bills and determine your average usage. Once you have this information, you can select the appropriate system size. If this is your first time using solar power, it’s best to start with a simple project. Keep in mind that you can always expand the system later if needed.
2. Choose the Right Solar Power System Size
Solar power systems come in various sizes depending on your electricity needs. For small projects, such as powering outdoor lights or garden fountains, you can start with a basic system. As your needs grow, you can gradually expand the system. Even with a small solar power system, you could potentially reduce your electricity bills by 80% in the coming months.
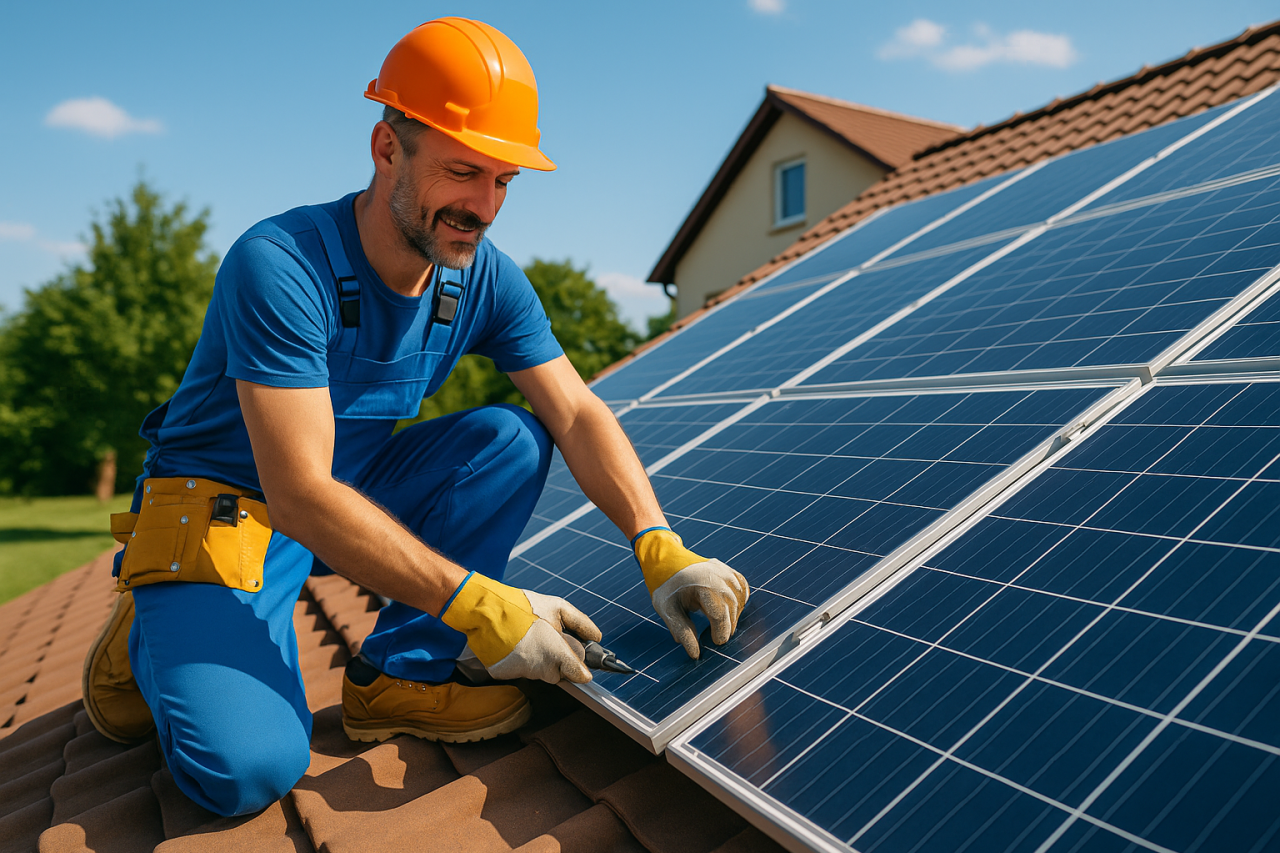
3. Install the Solar Panels
Solar panels are typically installed on the roof using a reliable rail system. The panels are adjustable, allowing them to be positioned to capture the maximum amount of sunlight. This setup is also ideal for future expansion. If your roof doesn’t face the optimal direction for sunlight, you can still install panels and adjust their angles to capture as much sunlight as possible.
4. Choose the Right Inverter
One of the most crucial components when setting up a solar power system is the inverter. The inverter converts direct current (DC) from the solar panels into alternating current (AC), which is what your home uses. Make sure you choose the appropriate inverter size based on your home’s electricity needs. If you're planning to install a smaller system, it’s still a good idea to opt for a slightly larger inverter. This will make it easier to expand the system later on without the need for a new inverter.
5. Hire a Professional for Installation
If you’re not an electrical expert and lack knowledge of electricity and electrical components, it’s essential to hire a professional to connect the inverter and the solar power system to your home’s electrical grid. Solar power systems involve dangerous voltages, and improper installation can result in electric shocks. Only a licensed electrician can ensure that the system meets local codes and passes the required inspections.
6. Take Advantage of Government Incentives
Many state and federal governments offer incentives for homeowners who decide to go solar. These incentives may include loans, grants, and tax credits that can help reduce the upfront cost of installing a solar power system. Make sure to take advantage of these programs to get your system installed quickly and start benefiting from an efficient, clean energy solution.
Conclusion
Solar power systems are a great way to reduce electricity costs and decrease your environmental impact. By following these steps and considering the necessary factors, you can easily install a solar power system in your home. From calculating your energy needs to selecting the right inverter and installation process, each step will ensure that your home is powered by clean, renewable energy.
 1108
Share
1108
Share